
We're in an entire new world now. Last week the CDC advised us to wear a cloth mask or some form of facial covering to help protect us and others while making a trip to the market, bank or when physical distancing is not possible. When we started the "Shelter in place" in March I knew I needed to get out my handy sewing machine and start to create cloth face masks, non-medical. There is a shortage of medical PPE and we want to save them for Health Care Workers.
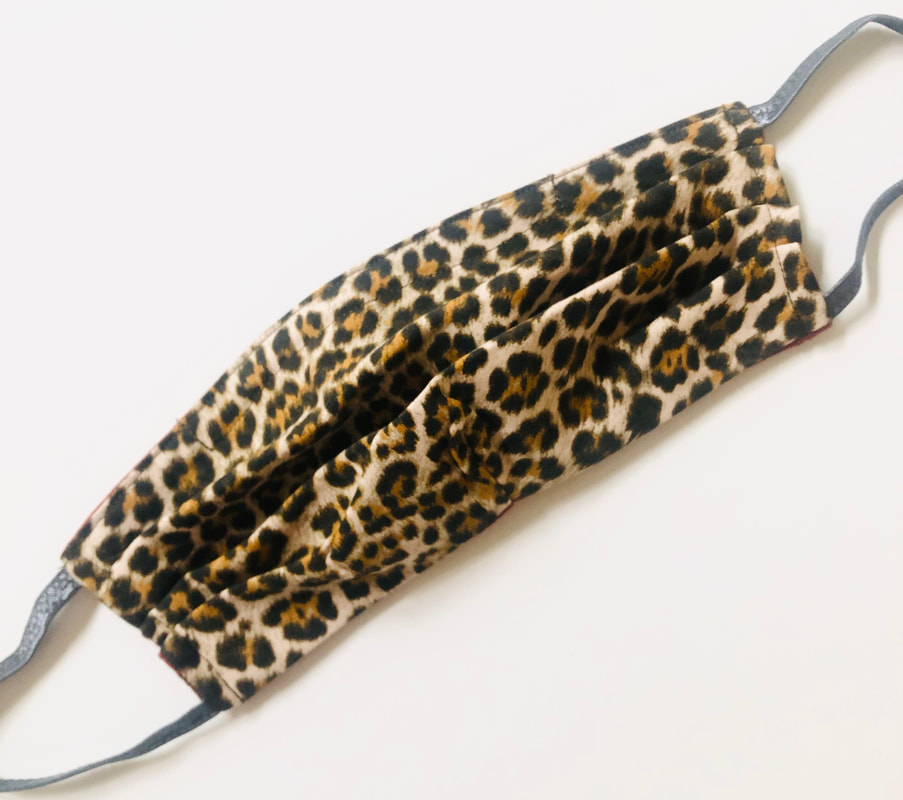
I've used the basic Pleated Pattern from Vanderbilt University with an addition of a dart at the chin and wire at the bridge of the nose that can be molded to your face. I find it holds the mask closer so you can see easier.
Here's a DIY for a fabric mask. We're all in this together!
I've used the basic Pleated Pattern from Vanderbilt University with an addition of a dart at the chin and wire at the bridge of the nose that can be molded to your face. I find it holds the mask closer so you can see easier.
Here's a DIY for a fabric mask. We're all in this together!
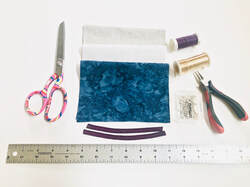
What you'll need:
Two 7” pieces of 1/4 inch elastic or similar.
You can make two sizes: Adult (shown) or Child 7.5 x 5.
- Tight-weave 100% cotton fabric (i.e. quilting cotton.)
- 100% Cotton for lining (flannel, t-shirt fabric).
- Fusible interfacing ( I prefer Pellon light weight knit).
- Wash and dry fabric without fragrance or dyes prior to sewing.
- Rope Elastic, beading cord elastic will work. You may also use 1/8” flat elastic if ¼” is unavailable. I've used a wider fold over elastic here and zigzag stitched.
- Scissors, straight pins, 20 gauge soft craft wire, thread, your handy sewing machine and iron.
Two 7” pieces of 1/4 inch elastic or similar.
You can make two sizes: Adult (shown) or Child 7.5 x 5.
- Cut 1 x 9.5 x6.5 in Cotton and 1 in flannel or t-shirt fabric. 2 x 9.5-6.5 in fusible interfacing.
- Prep all pieces by fusing interfacing to wrong side of pre-washed fabric.
- Put right sides of cotton fabric together (Be sure any fabric design is placed horizontally.)
- Starting at the bottom sew across edge. Press open. Pin dart in center where marked. Press.
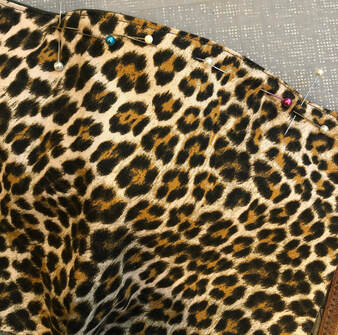
- Pin the elastic to the edge of the bottom corner, bring the other end of the same elastic to the top corner and pin.
- Repeat on the other side. Now both elastic pieces should be pinned in place.
- Bring right sides of fabric together and pin 3 sides catching the elastic ends and leaving a 2" opening at the top seam. Stitch.
- Turn right side out and press sides and top.
- Cut craft wire to 5" and make a tiny loop at the end (helps prevent it from poking through). Slip into the 2" opening.
- Top stitch across the top seam to close.
- Push wire to the very top of seam and pin in place.
- Create a casing for the wire by top stitching as shown.
- Mark 3 tucks at on each side of the mask. 1.75" from top, then 1.5" + 1.5"
- Pinch and fold tuck upward approximately 1/2" . Making sure the tucks are the same direction.
- Top stitch 1/4" away. Press.
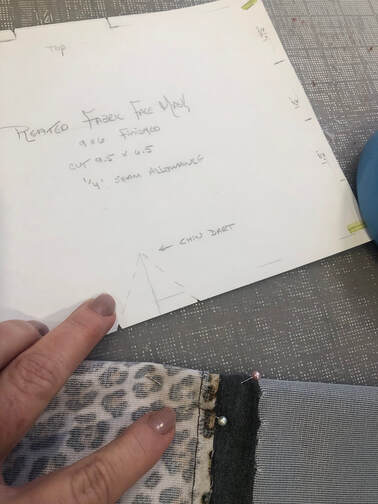 4. Pin dart in center for chin dart. | 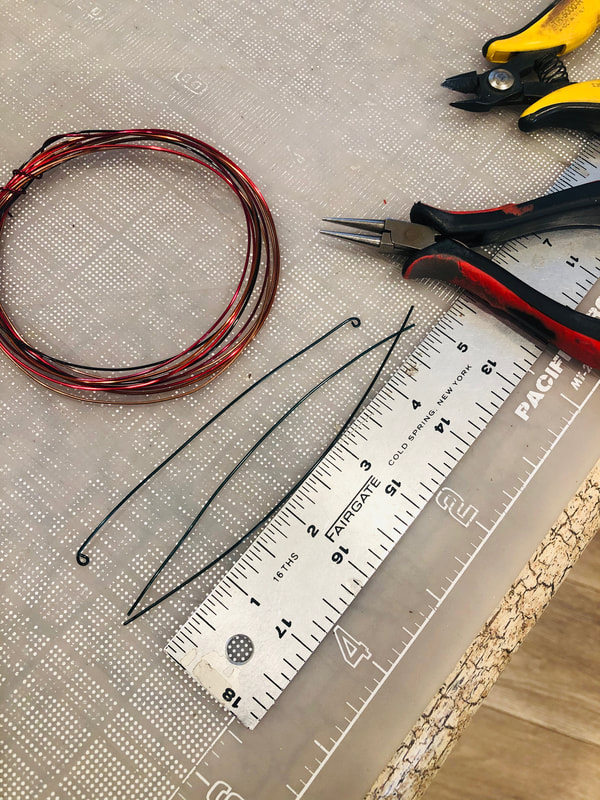 9. Cut 5" craft wire and form loops at ends. |  9. Slip cut craft wire into opening. |
 12. Create casing to hold wire in place. | 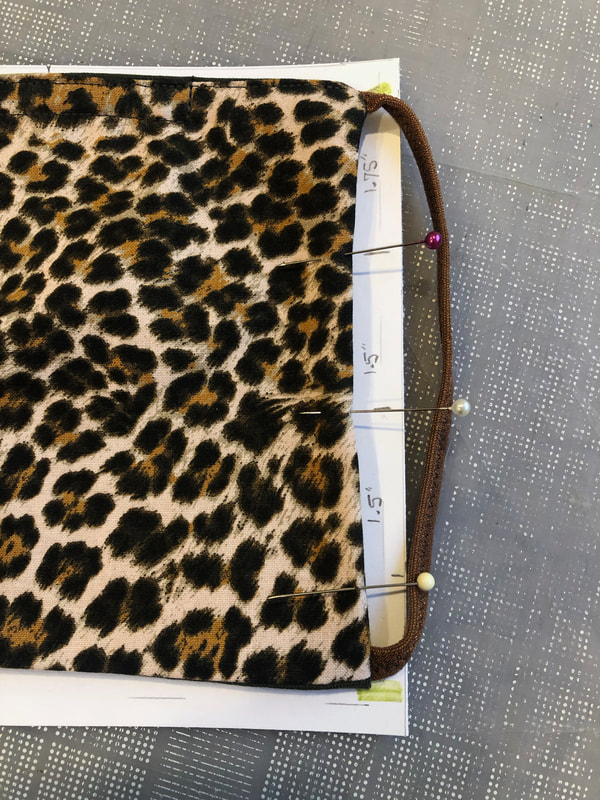 13. Mark tucks at 1.75" from top. then 1.5", then another 1.5"  Stay safe everyone! Xo |  14. Create tucks in same direction. Pin and stitch in place. |